 Lynden Siding
 Birch Bay Roofs Deal With a Different Kind of Weather
Birch Bay sits close enough to the water that its roofs take on a combination most inland Whatcom County homes don't have to deal with: salt-laden air off the water, wind-driven rain that comes in sideways during winter storms, and long stretches of shade and dampness that feed moss growth almost year-round. None of these on their own is unusual for Western Washington. Together, they wear on a roof faster than most homeowners expect, and they can mask real damage behind what looks like normal weathering.
A roof that's taken a real hit in a storm doesn't always look dramatic from the ground. A few lifted shingles, a soft spot near a flashing detail, or granule loss you'd never notice without getting up there can turn into a slow leak over the following months. That's the gap this page is meant to close — what storm damage actually looks like on a Birch Bay roof, what a correct repair involves, and how we handle it when you call us in.
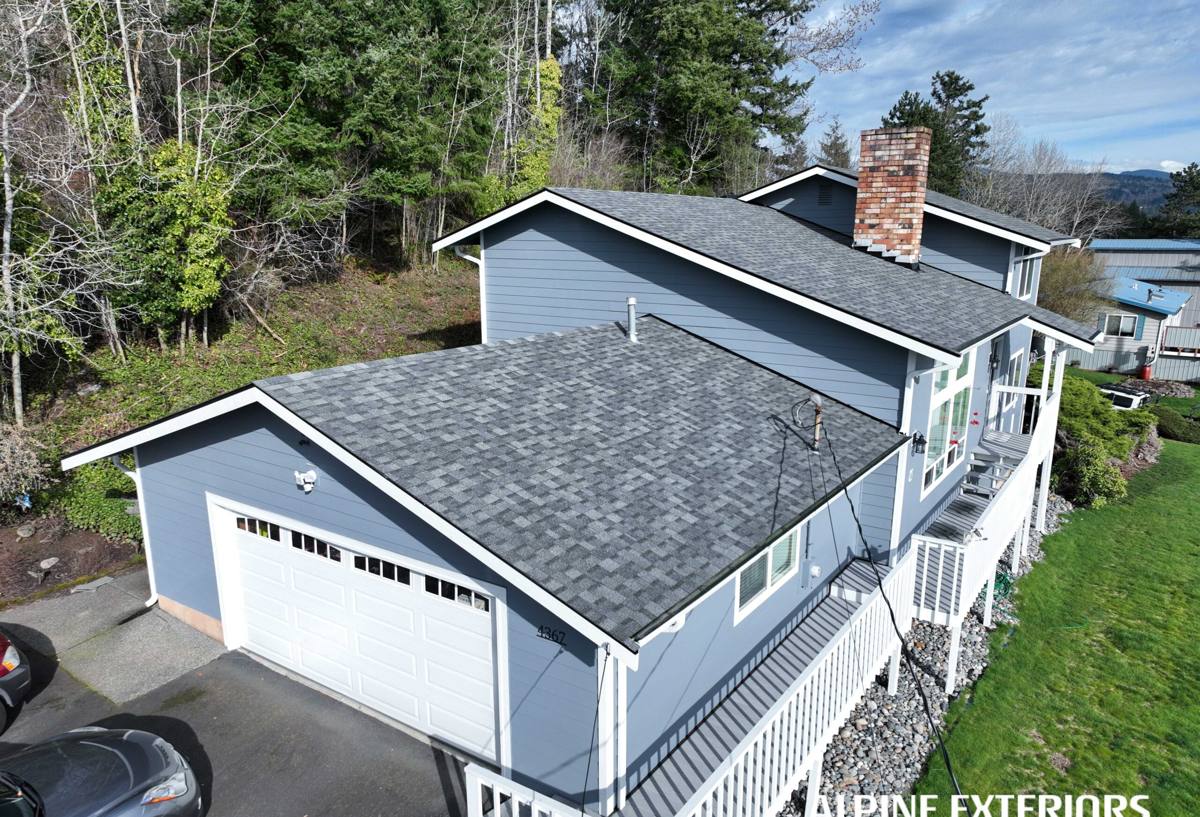
What Actually Counts as Storm Damage
Not every problem a roof develops after a storm is "storm damage" in the way an insurance adjuster or a contractor means it. That distinction matters because it affects how the repair gets scoped, priced, and in some cases, claimed.
- Wind damage: shingles or panels lifted, creased, cracked, or torn loose; exposed nail heads; missing pieces along ridges and edges where wind uplift is strongest.
- Impact damage: bruising or punctures from wind-driven debris, tree limbs, or hail — less common here than in other parts of the country, but it happens during bigger storms.
- Water intrusion: staining on interior ceilings, damp insulation, or rot at roof edges following a storm with heavy, sustained rain.
- Flashing failure: separated or bent flashing around chimneys, vents, and valleys — often the actual source of a "roof leak" that isn't a shingle problem at all.
What usually isn't storm damage: gradual granule loss from age, moss-related shingle degradation that's built up over years, or flashing that was installed poorly to begin with and finally gave out during a heavy rain event. We'll tell you honestly which category your roof falls into — it affects both the repair plan and whether it's worth filing with your insurance carrier.
How We Inspect a Roof After a Storm
We don't sell a repair off a ground-level look. A proper post-storm inspection means getting on the roof (weather permitting and safely) and checking the details that actually fail first:
What we check
- Shingle or panel condition across all exposures, not just the side facing the prevailing wind
- Flashing at every penetration — chimneys, plumbing vents, skylights, and roof-to-wall transitions
- Valleys and ridges, where water volume and wind pressure concentrate
- Gutters and downspouts for debris, granule buildup, and proper drainage away from the foundation
- Attic or underside access, if available, for staining, damp wood, or daylight coming through
- Moss and organic buildup that may be trapping moisture against the roofing material
We photograph what we find and walk you through it in plain terms — what's storm-related, what's pre-existing wear, and what can wait versus what needs attention now. If we don't find damage that justifies a repair, we'll say so.
What a Correct Storm Repair Actually Involves
A lot of storm repairs done cheaply or quickly are really just patches — new shingles nailed over a spot without addressing what let water in to begin with. That approach tends to fail again within a season or two, especially on a coastal-exposed roof like the ones in Birch Bay. A repair done right addresses the whole assembly, not just the visible surface layer.
Core elements of a proper repair
- Matching materials: shingles or panels that match the existing roof's type, profile, and as close to color as reasonably available, so the repair doesn't stand out or create a mismatched wear pattern later.
- Underlayment check: if water reached the underlayment, that section gets replaced, not just covered over. Underlayment is the actual water barrier — the shingles are the first line of defense, not the only one.
- Flashing done properly: re-bedded or replaced flashing with correct overlap and sealant, not just a bead of caulk over a gap. Caulk-only fixes are a common shortcut and a common source of repeat leaks.
- Fastening to code: correct nail placement and count for the wind exposure this stretch of the county sees, not the minimum that happens to hold for now.
- Debris and moss clearance: any accumulated organic material removed from the repair area so it isn't trapping moisture against new work.
We'll also flag anything adjacent to the repair area that's clearly heading toward failure — a cracked pipe boot, worn ridge cap, or a gutter section pulling away — so you can decide whether to bundle it in now or handle it separately.
Repair or Replace? What Actually Drives That Decision
Homeowners often assume storm damage means a full new roof. Sometimes it does — but often a targeted repair is the honest answer, and we'd rather tell you that than upsell a replacement you don't need yet. The table below covers the factors that actually tip the decision one way or the other.
| Factor | Leans Toward Repair | Leans Toward Replacement |
|---|---|---|
| Roof age | Under roughly two-thirds of its expected material lifespan | Nearing or past its expected service life |
| Extent of damage | Isolated to one section, slope, or detail | Spread across multiple slopes or the whole roof |
| Underlying deck condition | Solid, no rot found on inspection | Soft spots, rot, or repeated water staining found in decking |
| Prior repair history | First significant repair on this roof | Third or fourth patch attempt on the same areas |
| Moss and organic buildup | Light, manageable with cleaning and maintenance | Heavy, long-term buildup that's degraded the surface broadly |
| Insurance scope | Adjuster approves repair-level scope | Adjuster approves full slope or roof replacement |
If your roof is a borderline case, we'll lay out both options with our honest read on which one actually makes sense for the roof's condition and your timeline — not just the bigger invoice.
Working With Your Insurance Claim
If a storm caused clear, documentable damage, homeowner's insurance often covers repair or replacement, minus your deductible. A few things worth knowing going in:
- Document the damage as soon as it's safe to do so — photos from the ground are fine as a starting point, but a contractor's roof-level photos carry more weight with an adjuster.
- File promptly. Most policies have a window for reporting storm damage, and delays can complicate a claim.
- We're glad to meet an adjuster on-site and provide our inspection findings, but we work for you, not the insurance company — our scope recommendation reflects what the roof needs, and we'll say so plainly if that differs from what a claim initially covers.
- Be cautious of any crew that shows up unsolicited after a storm pushing you to sign an insurance-assignment contract on the spot. Take the time to get an independent inspection first.
Moss, Shade, and Salt Air: The Slow Damage Between Storms
Storm damage tends to get the attention, but in Whatcom County the bigger long-term threat to a roof is often what happens between storms. Birch Bay's tree cover and coastal humidity create long moss seasons that stretch from fall through spring in shaded or north-facing sections of a roof. Moss holds moisture against shingles, lifts tabs as it grows under the edges, and accelerates granule loss in exactly the spots that are hardest to see from the ground.
Salt air adds its own wear, particularly on metal components — flashing, fasteners, gutters, and vent caps — where corrosion can outpace the visible aging of the shingles themselves. A roof that looks fine from the driveway can have flashing and fastener corrosion that's quietly setting up the next leak. This is part of why we check metal components specifically during any storm inspection out here, not just the shingle field.
Keeping moss growth in check and catching corrosion early is cheaper, by a wide margin, than repairing the water damage that follows once either one gets ahead of you.
Why Hire a Crew That Already Knows Birch Bay Roofs
A roofer who mostly works drier, inland neighborhoods can still do competent work, but they're often seeing coastal wind exposure, salt-air corrosion, and heavy moss buildup for the first time on your roof. That's a bad place to be learning. Crews that regularly work Birch Bay and the surrounding Whatcom County coastline know which flashing details fail first in this wind pattern, which materials hold up honestly against the salt air, and how aggressive the moss problem really gets on shaded northern exposures.
That familiarity shows up in small but real ways: knowing to check a specific flashing detail before it's asked about, recommending fastener and flashing materials suited to a coastal environment, and giving a realistic read on what a roof actually needs instead of a generic checklist. It's also why we stand behind repair work with a straightforward warranty and are reachable if something doesn't hold up the way it should.
Quick checklist: what to do right after a storm
- Check ceilings and attic spaces for new staining, damp spots, or daylight
- Look for shingle or debris pieces in the yard or gutters
- Photograph any visible roof damage from the ground if it's safe to do so
- Avoid getting on the roof yourself, especially after rain — it's more dangerous than it looks
- Call for an inspection before the next storm system moves through
- Hold off on signing anything with a door-to-door storm crew until you've had an independent look
Get an Honest Look at Your Roof
If your Birch Bay home took a hit in the last storm, or you just want a professional set of eyes on it before the next one rolls in, we're glad to come out for a free, no-pressure estimate. We'll tell you plainly what we find — repair, monitor, or replace — and why. Fill out the form below to get started.