 Lynden Siding
 Why Birch Bay Siding Wears Differently Than Inland Homes
Birch Bay sits right on the water, and that changes what siding has to deal with. Homes a few miles inland in Lynden get plenty of Whatcom County rain, but they aren't getting salt-laden air pushed off the Strait of Georgia day after day. That combination — salt air, driving wind-blown rain, and a moss season that can run most of the year in the shade — is harder on exterior cladding than most homeowners realize until something starts to fail.
Salt air accelerates corrosion on fasteners, flashing, and any exposed metal trim. Wind-driven rain doesn't just fall straight down here; it gets pushed sideways into laps, seams, and butt joints that were never designed to handle water moving in that direction. And moss doesn't just look bad — it holds moisture against the siding surface for weeks at a time, which is exactly the condition that causes rot, coating failure, and hidden water intrusion behind the cladding.
None of that means Birch Bay homes need exotic materials. It means the repair has to account for how the home is actually being exposed, not just patch the visible damage and move on.
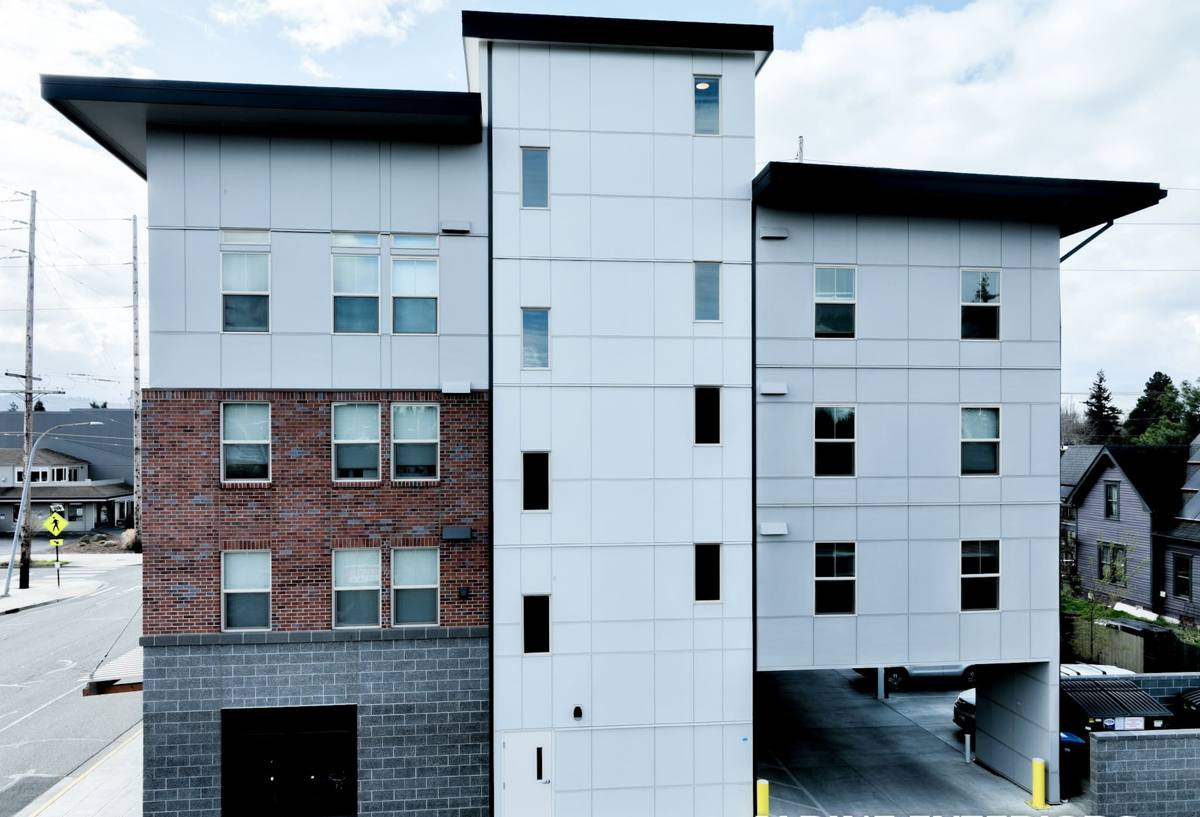
Signs a Birch Bay Home Needs Siding Repair
Most siding problems in this area show up gradually, and homeowners often assume it's cosmetic until it isn't. Here's what we look for during an inspection, and what you can check yourself:
- Soft or spongy spots when you press on siding, especially near the bottom courses close to grade
- Persistent moss or dark green-black staining that comes back within weeks of cleaning
- Cracked, bubbled, or peeling paint concentrated on the west- or north-facing walls (the sides that catch the most wind-driven rain off the water)
- Gaps opening up at butt joints, corner trim, or around window and door casings
- Rust streaking below nail heads or metal flashing
- Warping, buckling, or visible separation between siding panels
- Interior clues — a musty smell, peeling interior paint, or soft drywall on an exterior wall
Any one of these on its own might be minor. Several showing up on the same wall usually means water has been getting behind the siding for a while, which changes the scope of the repair.
What a Correct Siding Repair Actually Involves
Diagnosis before demolition
The most common mistake in siding repair isn't bad workmanship — it's treating the symptom instead of the cause. Replacing a cracked or rotted board without figuring out why water got behind it means the same failure shows up again in a season or two. Before we touch anything, we trace the water path: is it a failed caulk joint, a flashing detail that was never installed correctly, a missing kick-out flashing above a lower roofline, or ground contact where siding was installed too close to grade?
Checking what's underneath
Once siding is pulled back, we check the weather-resistive barrier (house wrap) and the sheathing behind it. If the barrier is torn or the sheathing has soft spots, patching the siding alone won't solve anything — that layer has to be repaired first, or the new siding will fail from the inside out.
Matching material and finish
Repairs on James Hardie fiber cement need to match not just the profile (lap width, texture) but the ColorPlus factory finish, so the repaired section doesn't age or weather differently from the surrounding wall. Field-painted patches on a ColorPlus home tend to stand out over time because the factory finish and job-site paint don't weather at the same rate.
Sealing and flashing done to spec
Every seam, joint, and penetration gets flashed and sealed according to manufacturer installation requirements — not just caulked over. In a location that takes wind-driven rain from multiple directions, correct flashing detail matters more than it would on a sheltered inland lot.
Common Repair Scenarios We See in Birch Bay
| Situation | Likely Cause | What the Repair Involves |
|---|---|---|
| Rot at the bottom courses | Siding installed too close to grade or landscaping built up against the wall | Remove affected boards, correct clearance, reinstall with proper drip edge |
| Recurring moss/algae staining | Shade, poor airflow, moisture held against the surface | Clean, inspect for hidden rot, address ventilation or drainage where possible |
| Cracking near window and door trim | Failed or missing flashing above openings | Remove trim, install correct flashing, reinstall or replace trim |
| Panel separation at butt joints | Improper original installation or normal expansion/contraction without adequate joint treatment | Re-fasten or replace section, correct joint treatment per spec |
| Rust streaking below fasteners | Non-corrosion-resistant fasteners exposed to salt air | Replace with corrosion-resistant fasteners, touch up finish |
Repair vs. Replacement: Knowing Where the Line Is
Not every siding problem calls for a full re-side, and we don't push a bigger job than a home actually needs. But there's a point where patch repairs stop being cost-effective and a section — or the whole elevation — is better replaced outright.
| Factor | Repair Usually Makes Sense | Replacement Usually Makes Sense |
|---|---|---|
| Extent of damage | Isolated to one or two boards or a single wall section | Spread across multiple walls or recurring in the same areas repeatedly |
| Underlying structure | Sheathing and house wrap are sound | Sheathing is soft or wrap has failed across a wide area |
| Age of existing siding | Siding is otherwise mid-life and in good shape | Siding is near or past its expected service life |
| Original installation quality | Original install was correct; failure is isolated | Original install had systemic flashing/clearance errors |
We'll tell you honestly which category your home falls into. A repair that's likely to fail again within a couple of years isn't a good use of your money, and we'd rather say that up front.
Why We Repair With James Hardie Fiber Cement
We install and repair exclusively with James Hardie products, and in a coastal, high-moisture environment like Birch Bay, that's a deliberate choice rather than a brand preference. Hardie's fiber cement is non-combustible and dimensionally stable — it doesn't absorb and release moisture the way wood-based products do, which matters when a wall is getting hit with wind-driven rain on a regular basis. The ColorPlus factory finish is baked on under controlled conditions and carries its own finish warranty, which holds up better under UV and salt exposure than field-applied paint typically does.
Hardie's HZ5 product line is engineered for wetter, harsher climates, which fits this stretch of the Washington coast better than a standard-climate product would. When we do a repair, matching into that system means the patched section performs the same way as the rest of the wall — not a weaker point that fails again first.
Our Repair Process, Start to Finish
- Inspection: We walk the exterior, check the areas you've flagged, and look for related problems nearby that aren't obvious yet.
- Diagnosis: We identify the actual water path or failure cause, not just the visible symptom.
- Written scope: You get a clear explanation of what's failing, why, and what the repair will and won't include.
- Removal and inspection behind the siding: We check sheathing and house wrap condition before closing anything back up.
- Correction of the underlying issue: Flashing, clearance, drainage, or barrier repair — whatever caused the failure gets fixed, not just covered.
- Reinstallation: Matching Hardie material and ColorPlus finish, installed to manufacturer spec.
- Final check: We confirm seams, flashing, and fastening are correct before we consider the job done.
Why a Crew That Already Works Birch Bay Matters
Siding repair is a trade where local exposure knowledge actually changes outcomes. A crew that regularly works Birch Bay knows which elevations typically take the worst of the wind-driven rain, how quickly moss reestablishes itself in the shaded, moisture-heavy pockets near the water, and which original installation shortcuts tend to show up in homes built at different points over the years. That's not something you get from a general contractor who repairs siding occasionally between other kinds of jobs.
It also means fewer surprises during the work. We're not guessing at how the local climate behaves — we've seen the same failure patterns repeat across multiple homes in the area, and that experience shapes how we diagnose and repair each one.
What to Expect Cost-Wise
Repair costs vary widely depending on how much has to come off, whether sheathing or house wrap needs correction, and how much matching and refinishing the patch requires. A small, isolated repair is a modest job. A repair driven by a systemic flashing or clearance problem across a wall can approach the cost of a partial re-side, since the underlying correction is the bigger part of the work — not the visible siding itself. We'll give you a clear, itemized picture before any work starts, so there are no surprises partway through.
If your Birch Bay home has siding that's showing rot, recurring moss, cracking, or staining, it's worth having it looked at before the next wet season makes the problem bigger. We offer a free, no-pressure estimate — walk us through what you're seeing, and we'll tell you honestly what it needs.